Set up your workspace
The order to set up a new Hermon workspace so you never have to redo a step, from currency and timezone to your first program.
A new workspace works best when you set it up in a fixed order. Some choices, such as your currency, cannot be changed later, and others only make sense once the step before them is done. Follow the steps below from top to bottom.
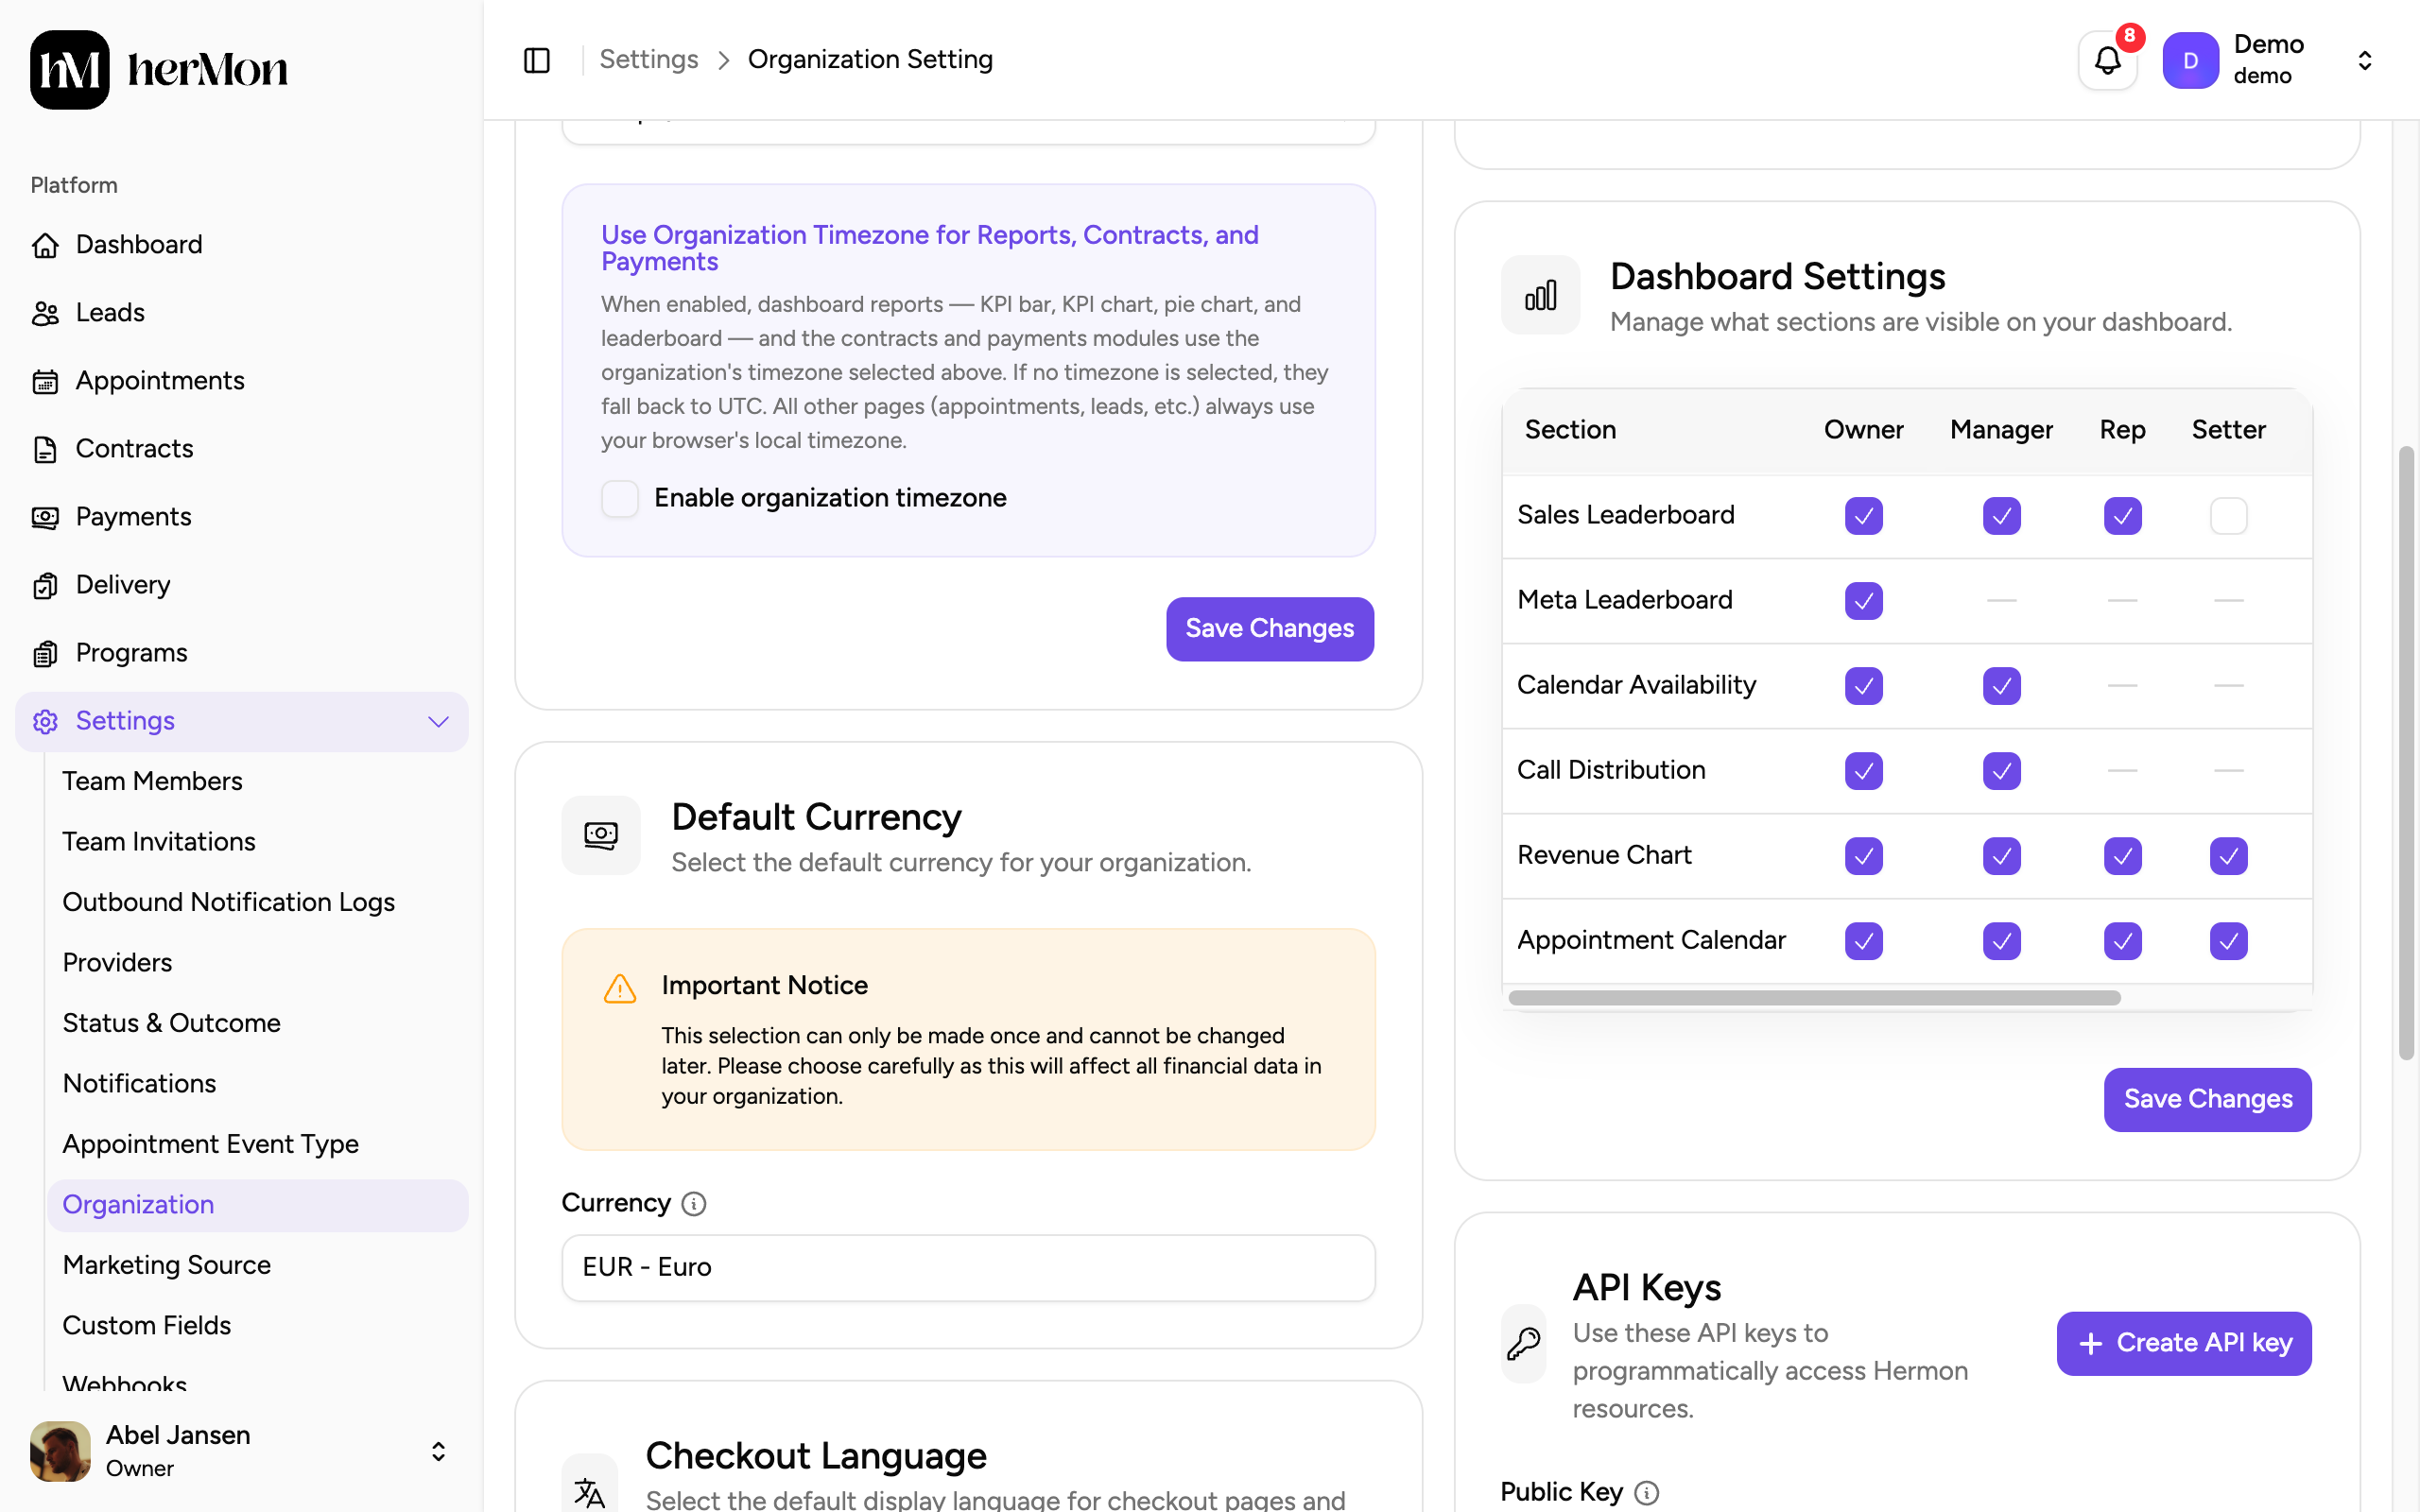
Your currency can only be set once. It applies to every program, contract and payment in your workspace, and there is no way to change it afterwards. Decide on it before you start.
Before you start
- You need the Owner role. Organization settings and Providers are hidden for every other role.
- Know which currency you invoice in and which timezone your team reports in.
- Have the logins ready for the tools you want to connect, such as your booking tool and payment processor.
Step by step
Open your organization settings
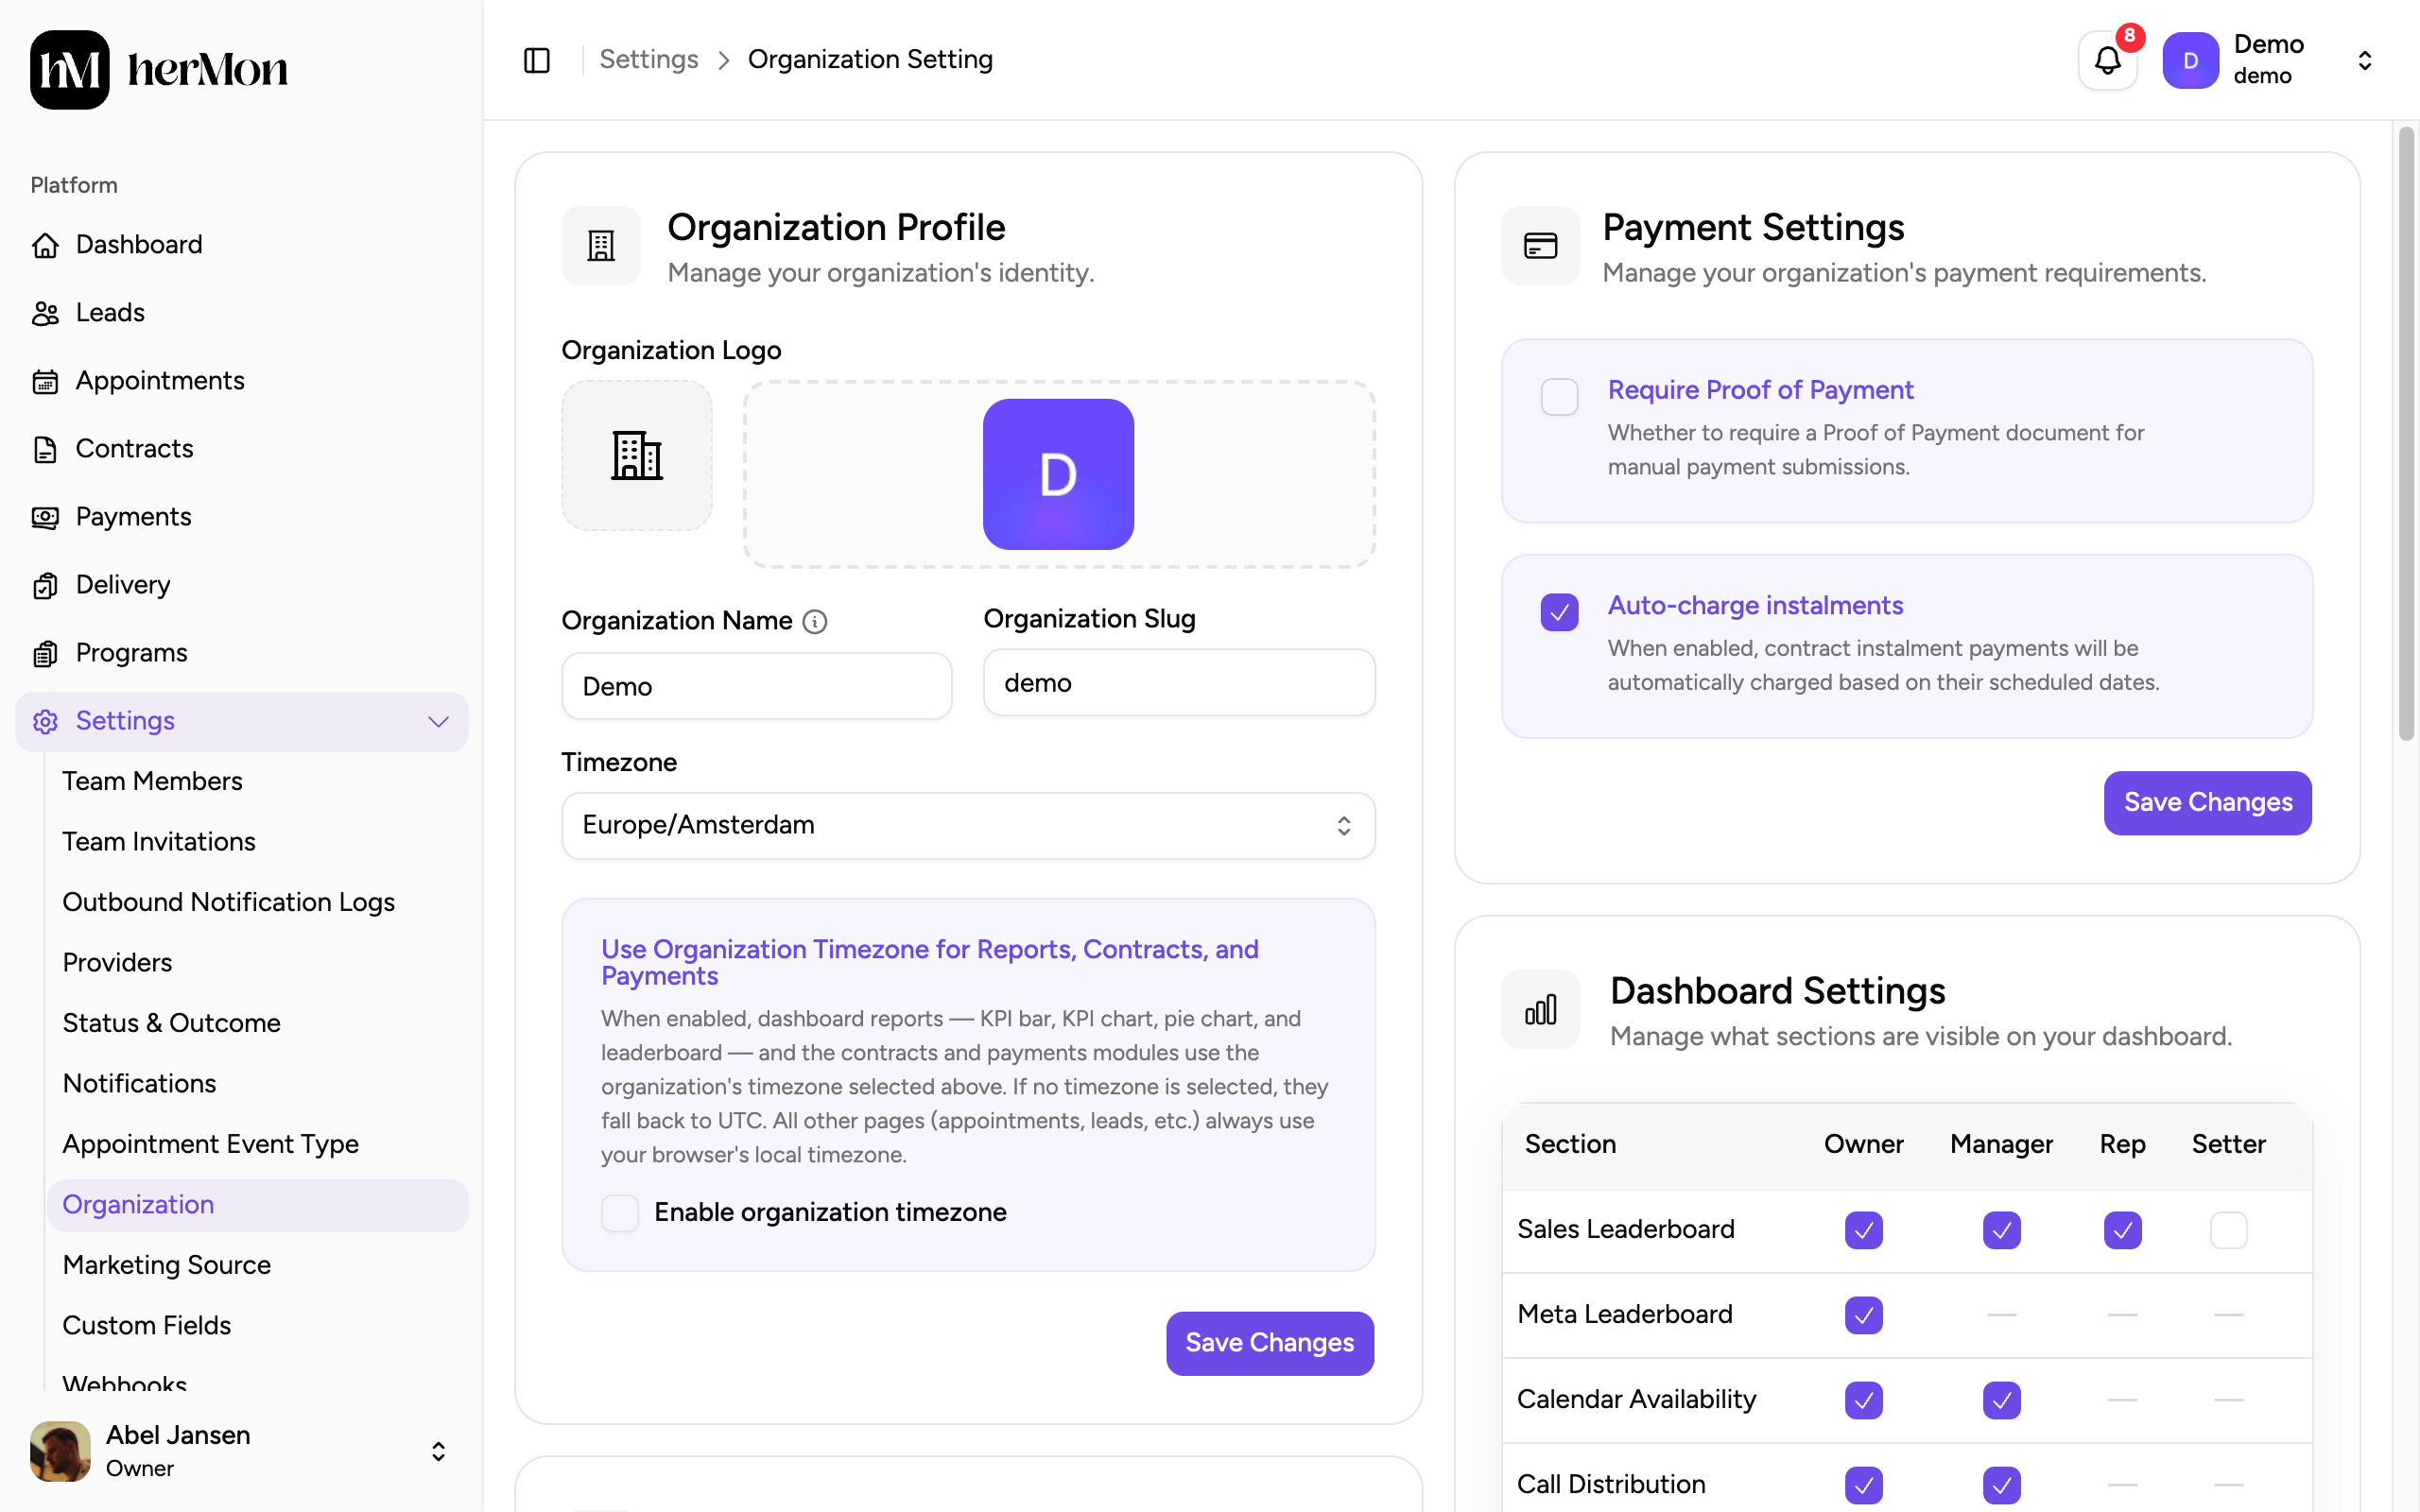
In the left sidebar, open Settings and choose Organization. The page has two columns: Organization Profile and Default Currency on the left, Payment Settings, Dashboard Settings and API Keys on the right.
Choose your default currency
In the Default Currency card, pick your currency from the Currency dropdown. It saves the moment you pick it, without a save button, and the dropdown is locked from then on.
Set your name, logo and timezone
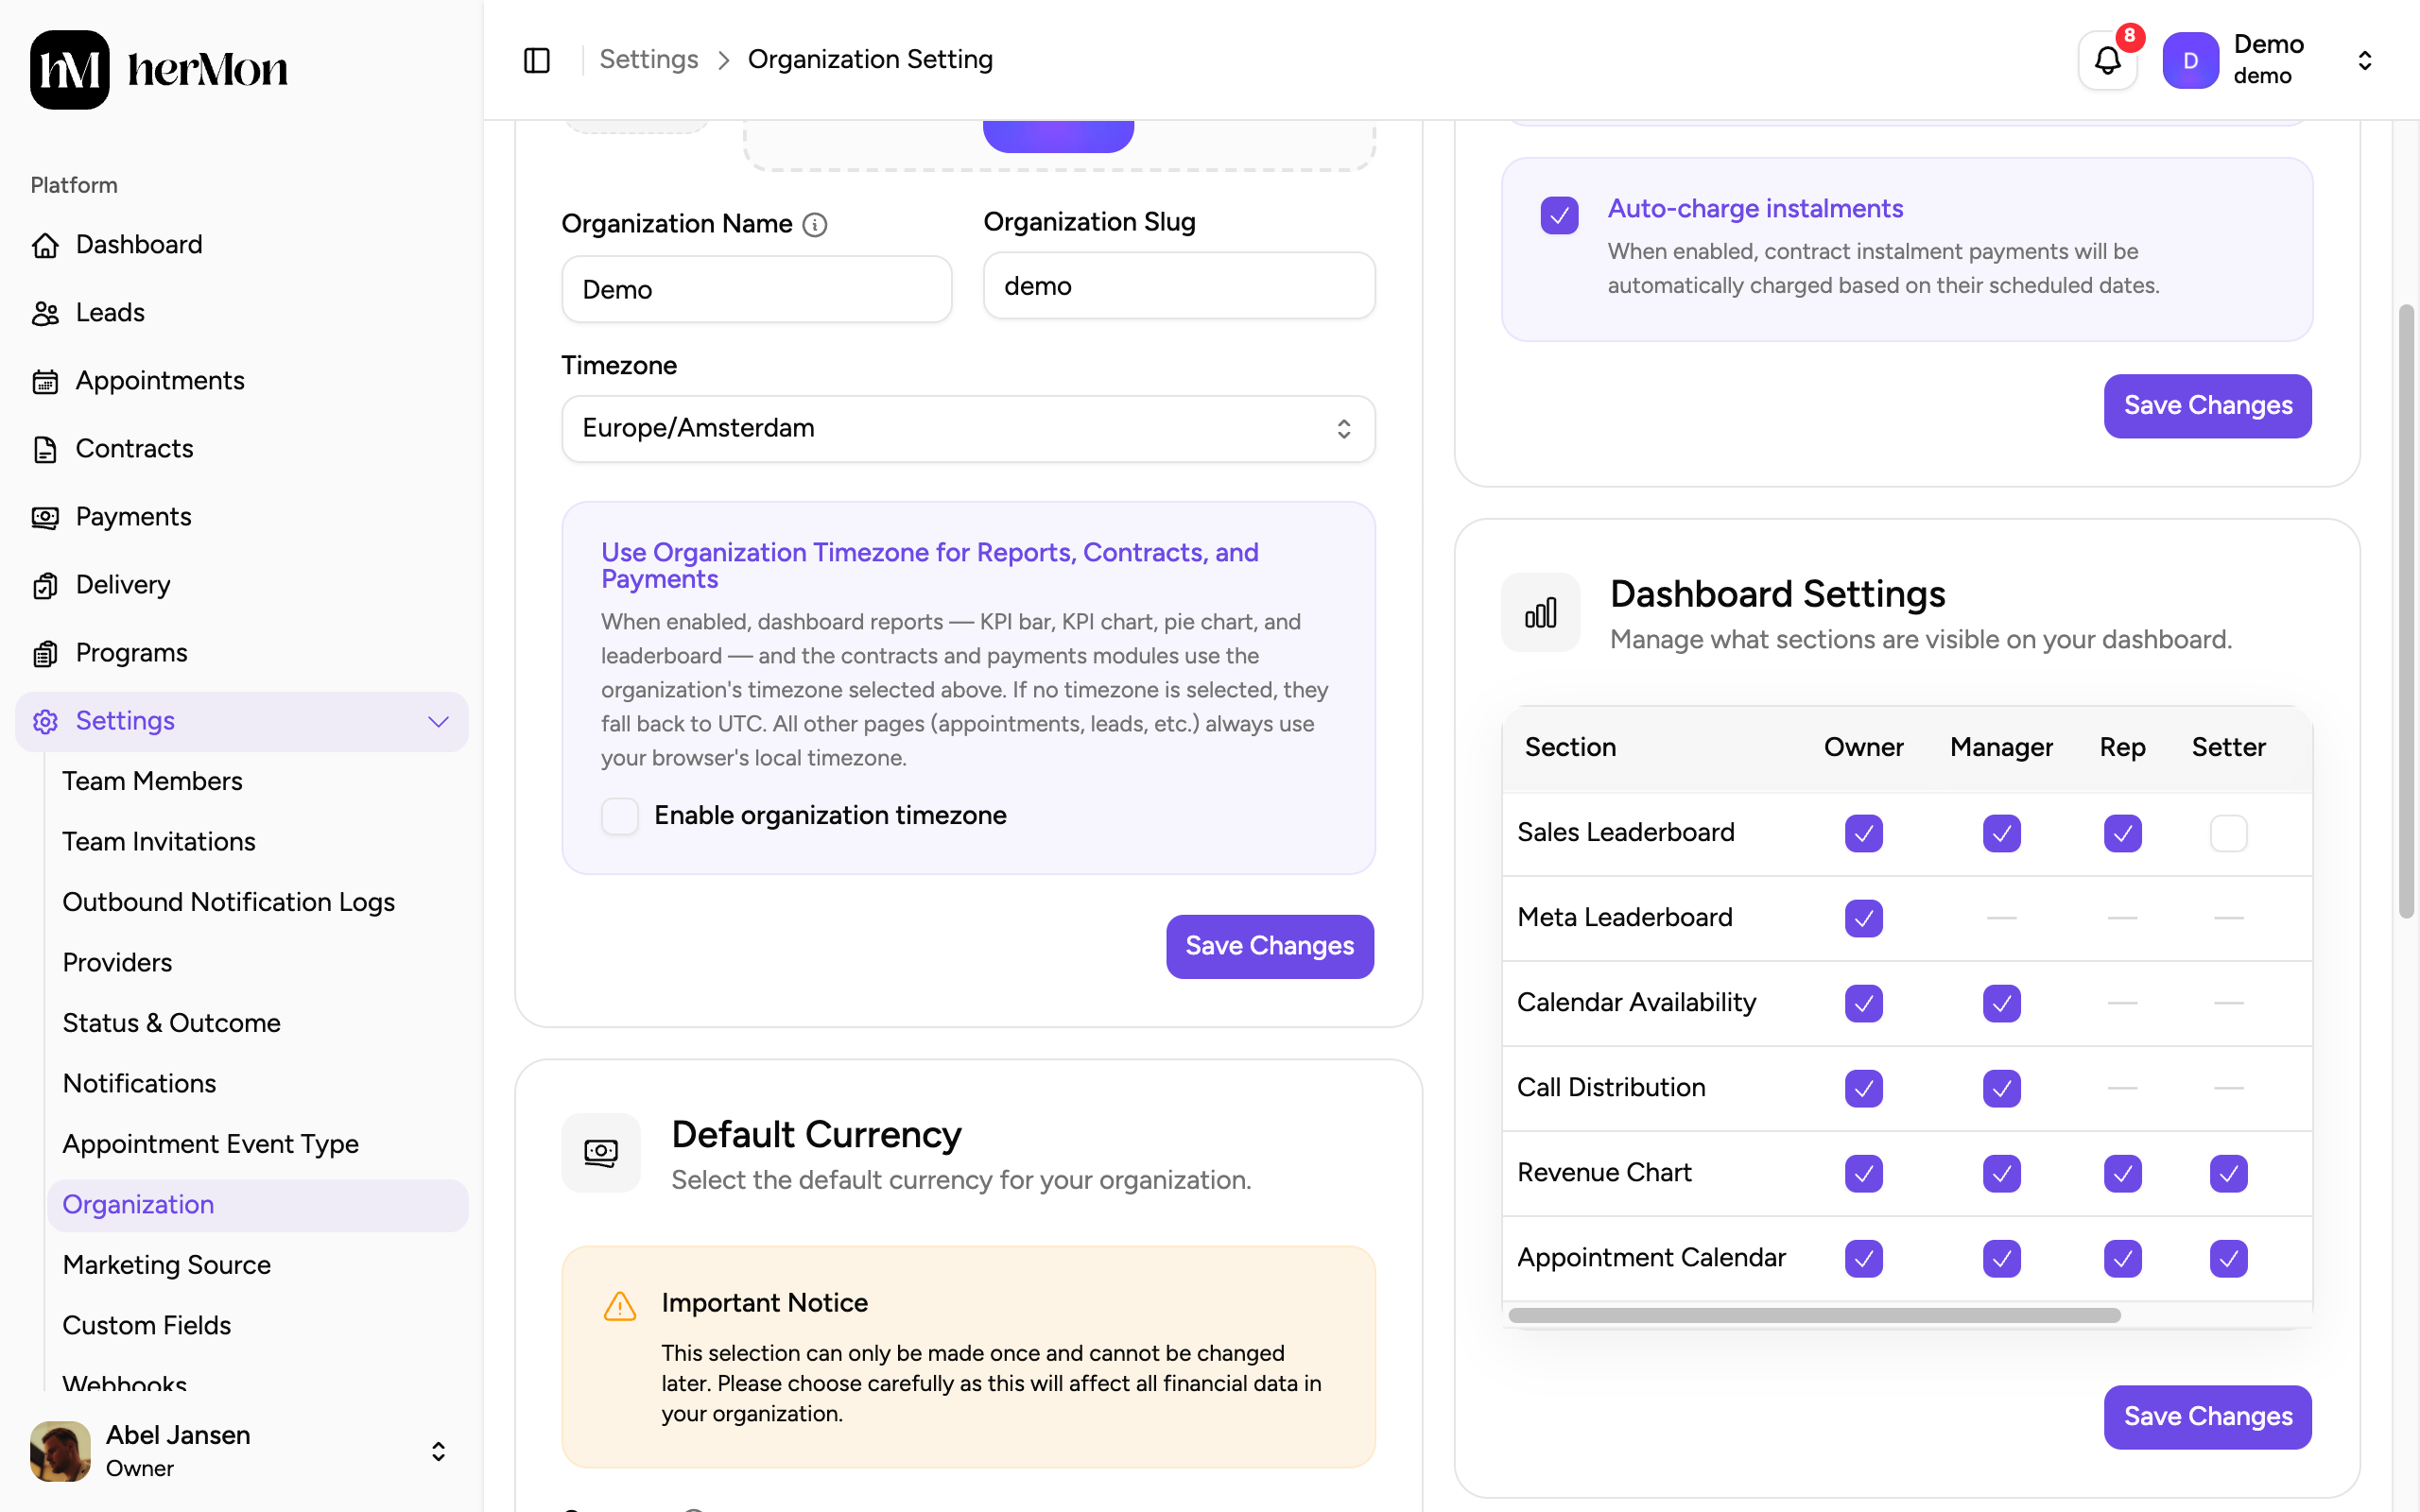
In Organization Profile, fill in your Organization Name, upload a logo (PNG or JPG, up to 5MB) and choose your Timezone.
Tick Enable organization timezone if you want the dashboard, contracts and payments to report in that timezone. If you leave it off, those reports use UTC. Click Save Changes.
Decide your payment rules
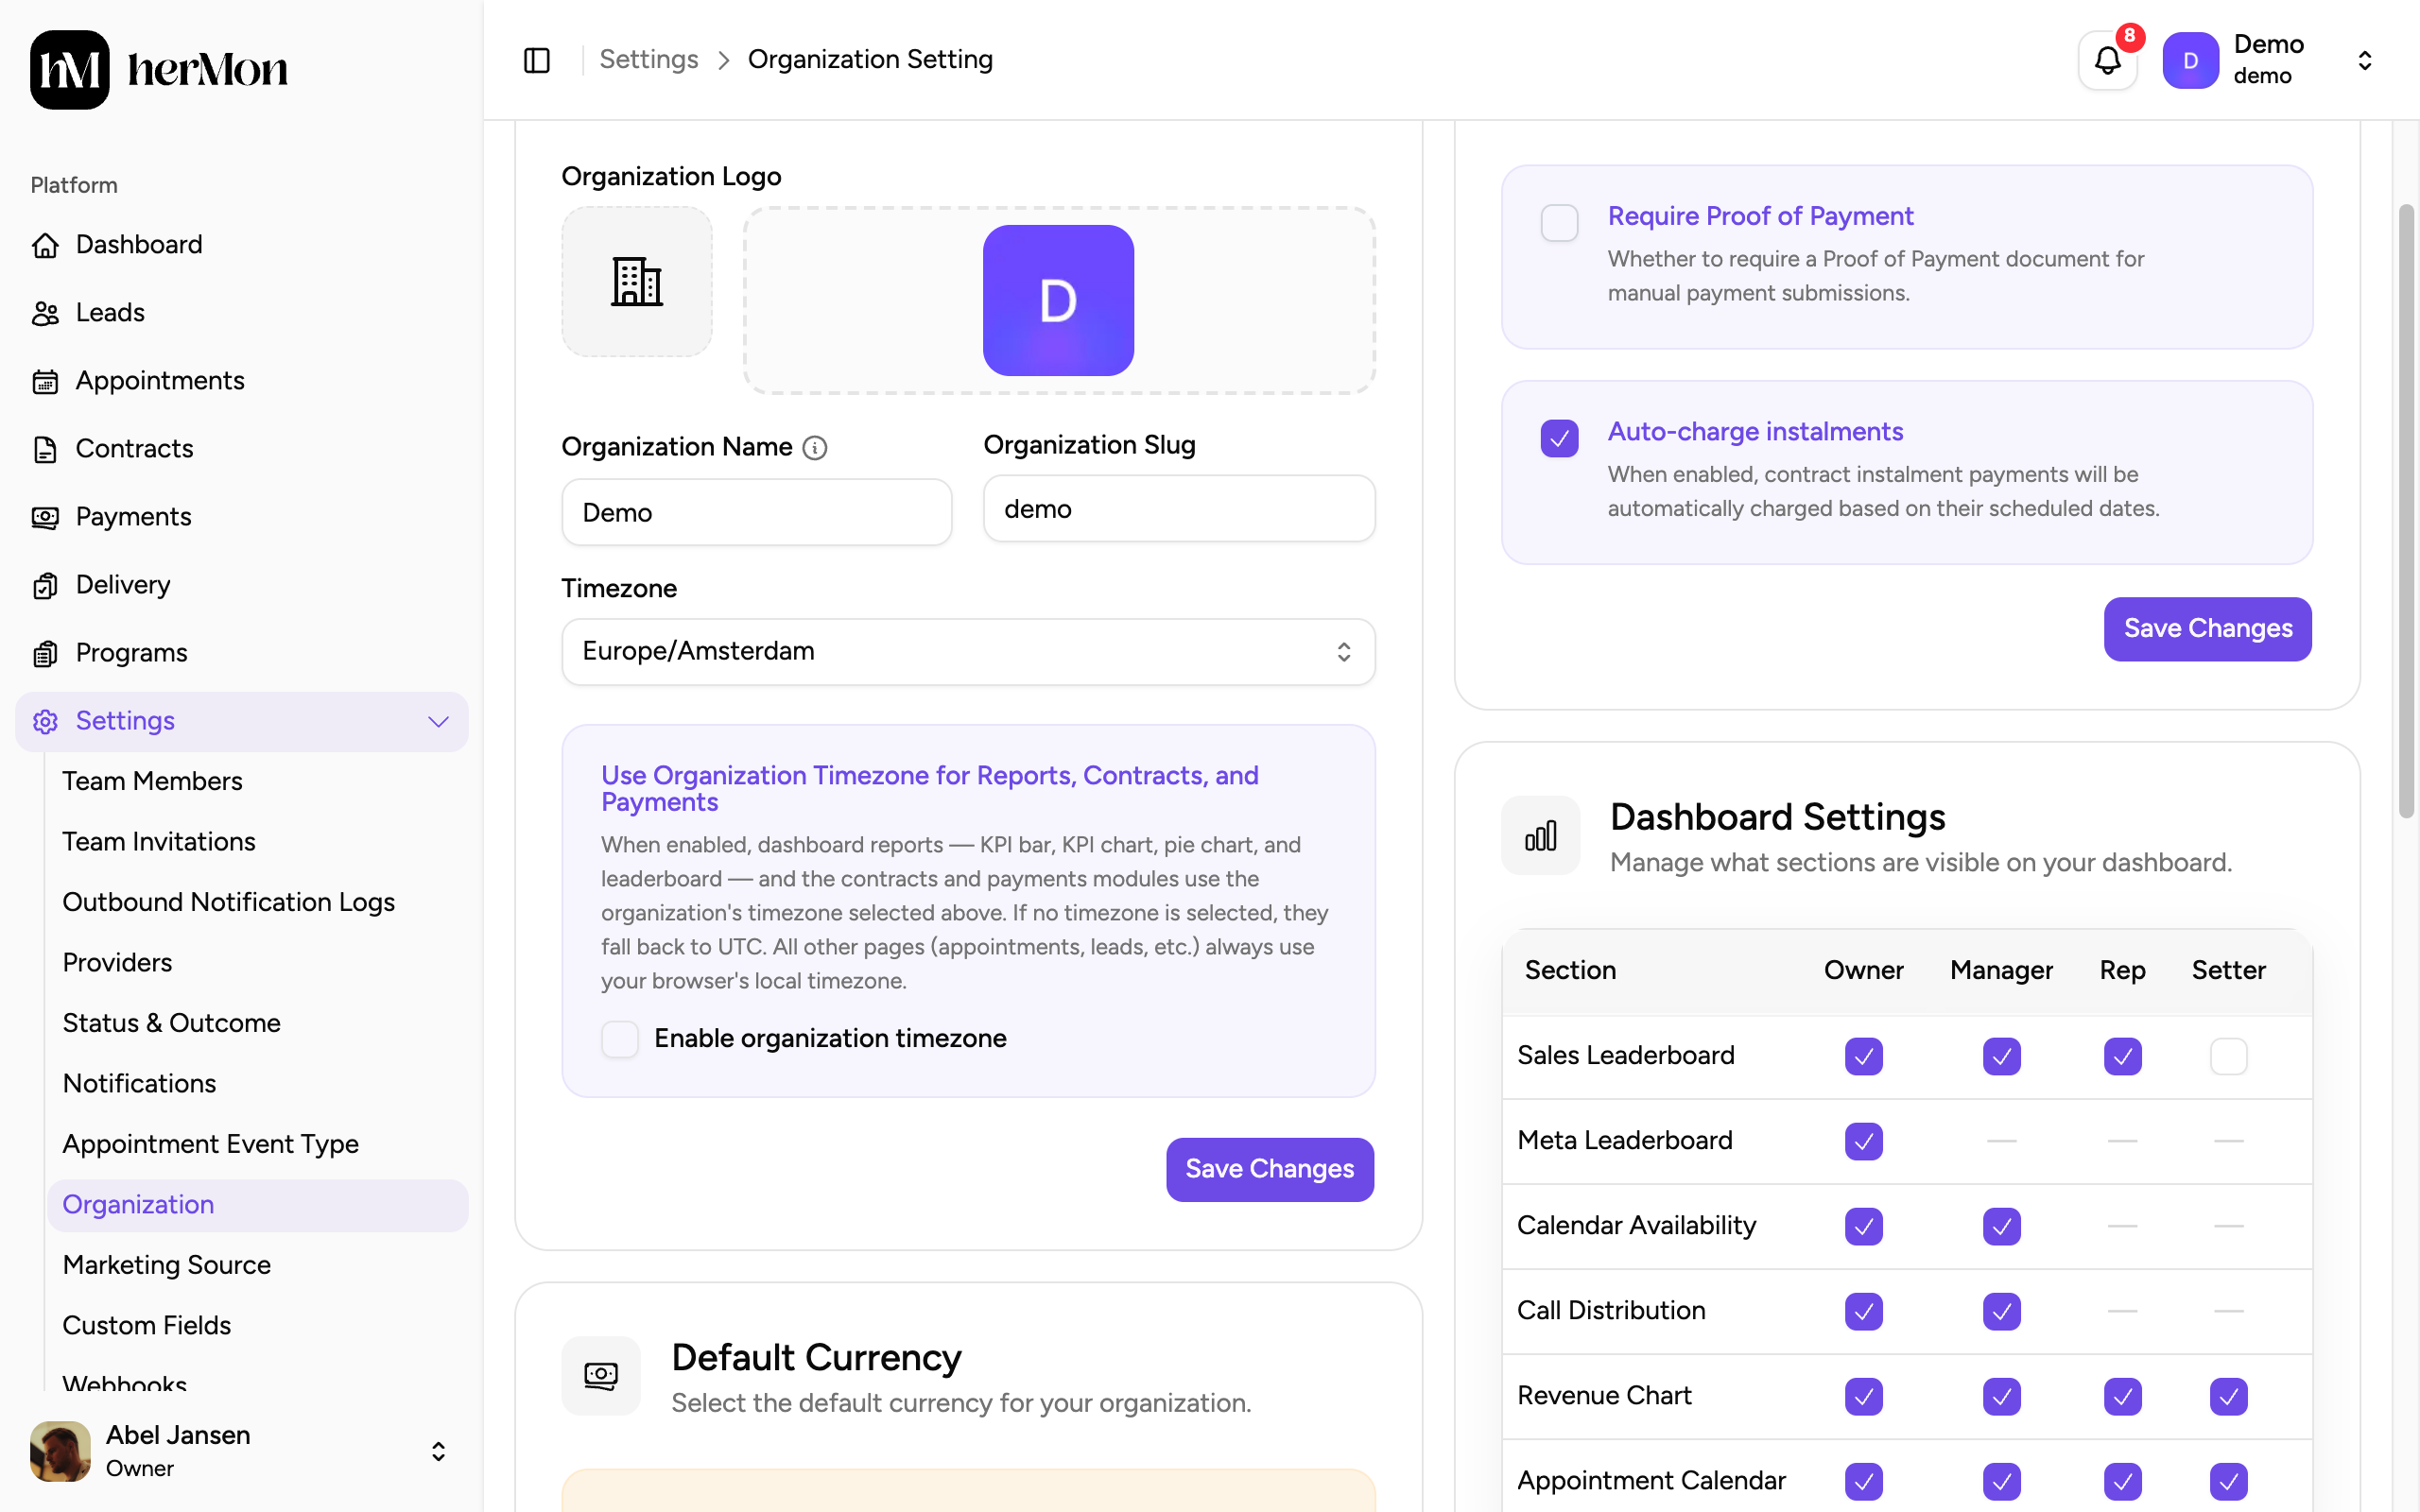
In Payment Settings there are two switches:
- Require Proof of Payment: your team must upload a document when they register a manual payment.
- Auto-charge instalments: instalments of a payment plan are charged automatically on their scheduled date.
In Dashboard Settings, tick which roles can see each section of the dashboard, such as the sales leaderboard. Click Save Changes on each card you changed.
Connect the tools you use
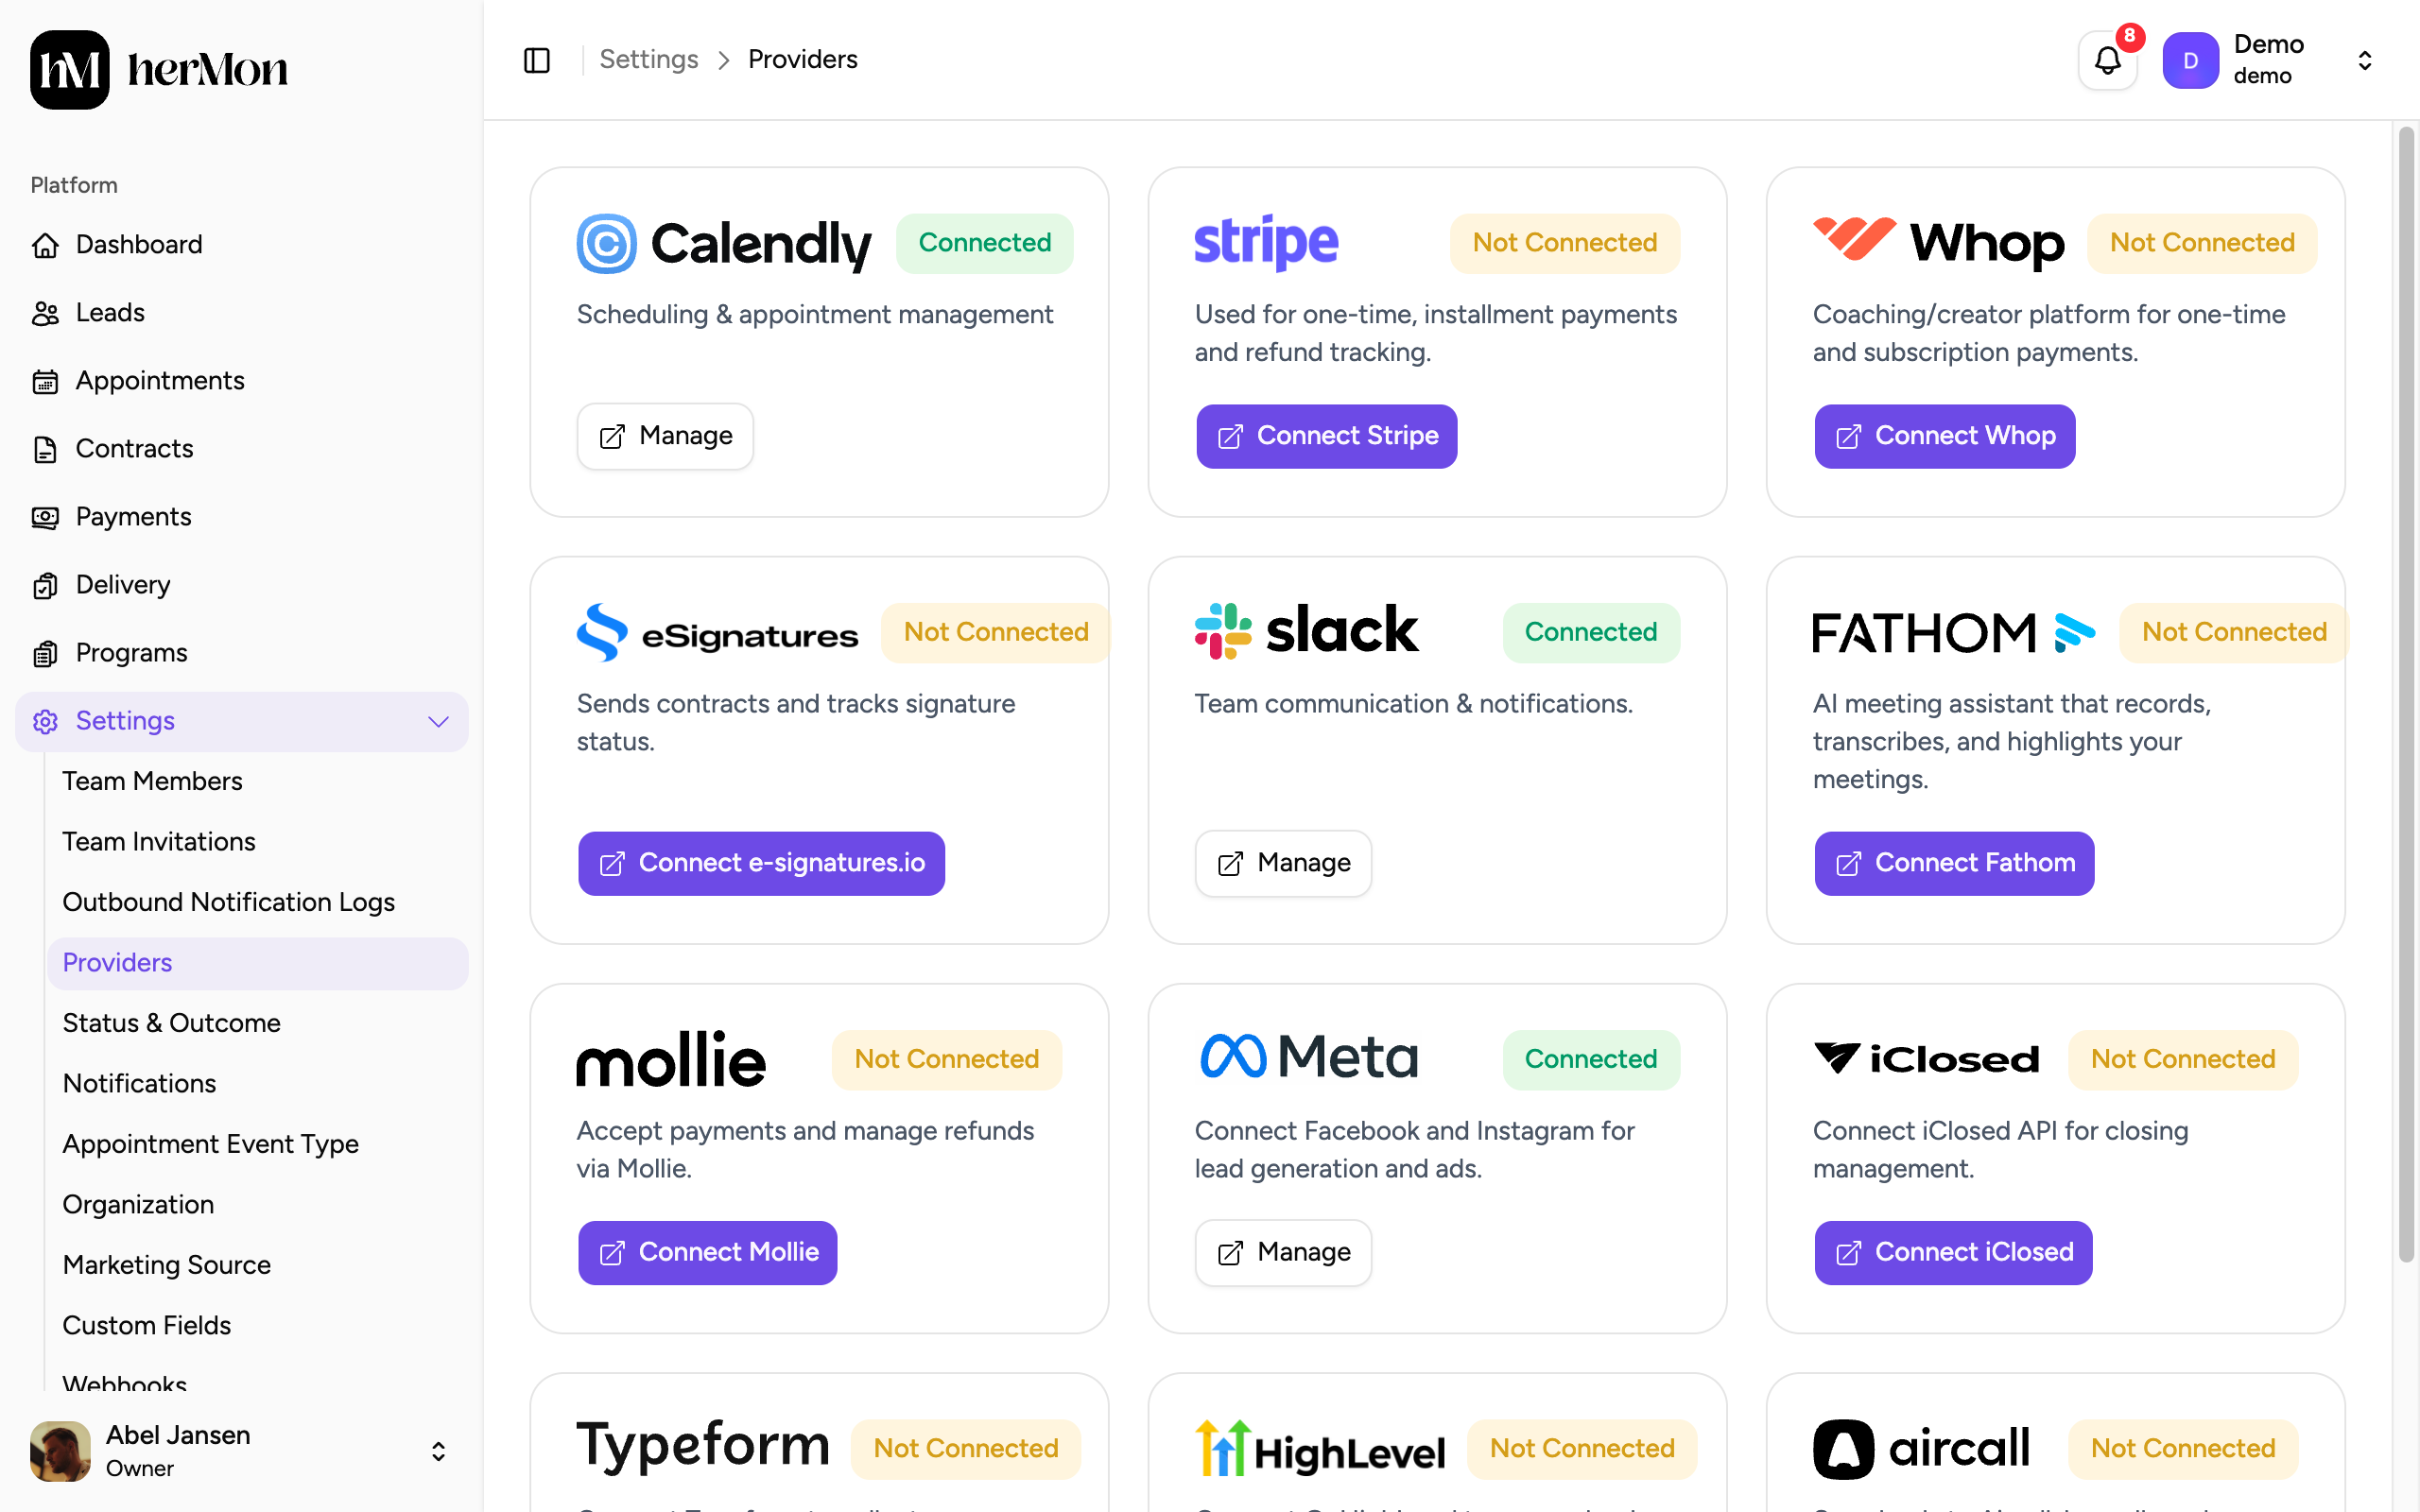
Go to Settings, then Providers, and connect only what your team actually uses: a booking tool (Calendly, iClosed or GoHighLevel), a payment processor (Stripe, Mollie or Whop), eSignatures for contracts, Fathom for call recordings, Typeform for forms and Meta for ad attribution.
The full instructions per tool are in Invite your team and connect integrations.
Invite your team
Go to Settings, then Team Invitations, and invite each person with the role that fits their job. Roles decide what someone can see and change, so pick them carefully. See Invite your team and connect integrations.
Create your programs and check your pipeline
- Create your programs: the offers you sell, each with a price and payment type.
- Review your statuses under Settings, then Status & Outcome. They are the stages of your pipeline and the outcomes your team logs after a call.
- Add your marketing sources under Settings, then Marketing Sources, so every lead is attributed to where it came from.
Good to know
Funnels you built yourself. A landing page that is not built in a connected tool (for example a custom site, Webflow or Framer) has to send its opt-ins to Hermon, or those leads go missing. Create an API key in the API Keys card on the Organization page, then follow the developer docs. The full key is shown only once, so copy it right away.
Running Meta ads? After connecting Meta, set up your ad URLs with the UTM guidelines in the developer docs. Without them, paid leads are not attributed to a campaign.
Optional refinements. Once the basics work, you can add custom fields, event types and notification templates from the Settings menu.